Hello!!! Today I would like to share with you a fun layout I made using lots of gorgeous Dusty Attic chippies and 13 Arts goodies, inspired by this month's moodboard at Dusty Attic, and also by this layout of the very talented Stacey Young. As always I have put together a little step-by-step tutorial for you, this time for the background. I will also explain how I altered my chipboards with 13 Arts Media when showing the close-ups, so make sure you read right through!!
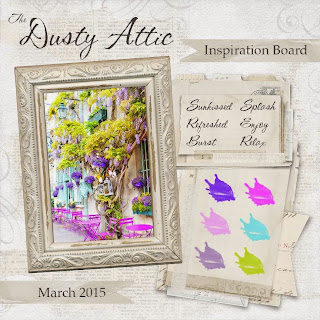
Here is the moodboard from Dusty Attic:
.jpg)
Dusty Attic Products used:
I was inspired by the blue and purple colors for my layout..... I adore this combination at the moment, whilst all the flowers in the image inspired me to create a layout without flowers!!!!
'Believe'

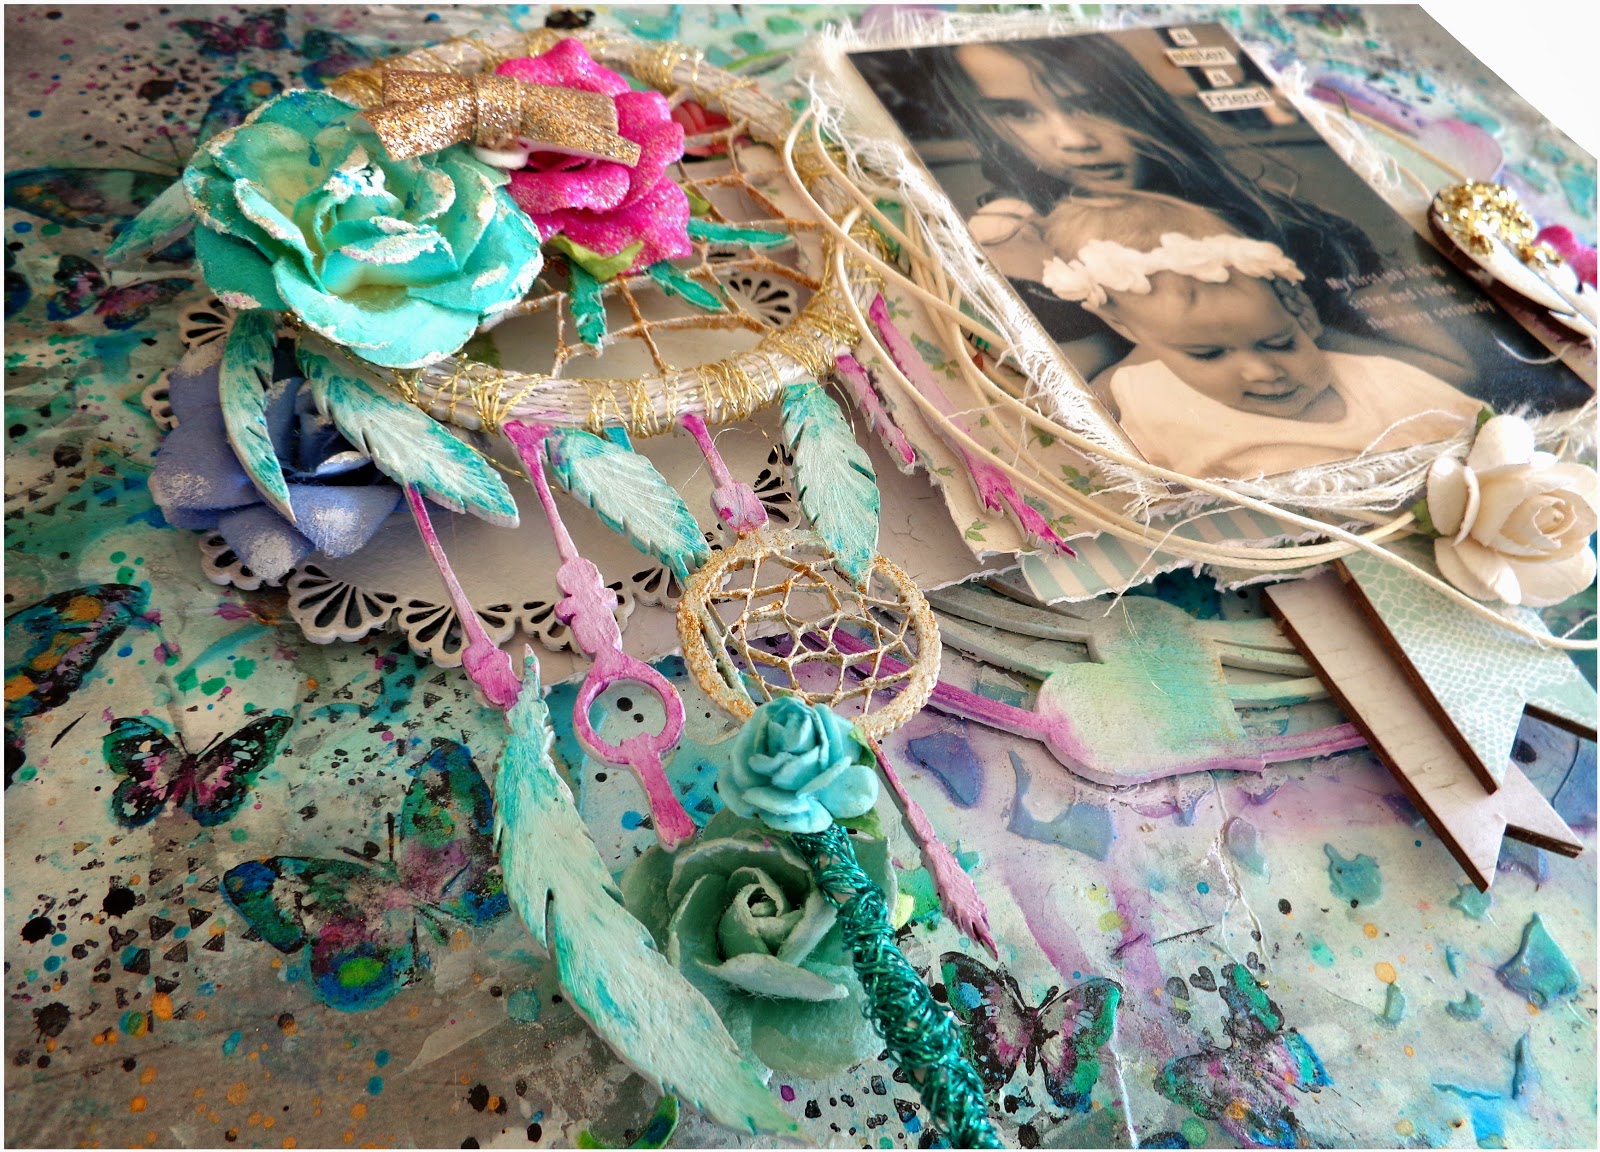
Some details:

The Ornate frame on the photo was painted 13 Arts Matte black paint then given a very thick coat of clear crackle medium. When the cracks were dry I have brushed the entire frame with 13 arts White and Silver glitter paint, using my finger to really fill the cracks. I wiped excess paint away using a baby wipe. The butterfly (Flutterbies #3) has been painted with Vivid Violet, Matte Turquoise, and Matte Pea.

I have painted 2 Dusty Attic ATC frames #4 with 13 Arts White and Silver Glitter paint. The second frame has been cut in two with half placed on the left edge of the page and the other half on the other side of the photo. The Elegant Swirl #2 has also been cut in 2 with each half placed either side of the photo beneath the frames. They have been painted with 13 Arts Matte Turquoise paint. I sprinkled fine turquoise glitter over them while the paint was still wet. The Stars #3 were given the same treatment as the Mini Ornate Frame on the photo.

I have cut a few different sized banners from 13 Arts papers, then placed a small chipboard banner (Banners #2) painted with Vivid Violet on top.

Tutorial:
Step 1 and 2: Cut a piece of paper from the Color Basics Collection about a third of the width of the paper, then glue it vertically down the right-hand side of the page, about 1 inch from the edge. Add a few pieces of washi tape on both edges of your paper strip then spread gesso over your page (the washi tape makes spreading the gesso a touch easier). When your gesso is dry add a couple of strips of the black checkered paper from the Color Basic Collection, and add some more strips of washi tape in black and blue.

Step 3 and 4: Using Matte Pea and matte Turquoise paint the left hand side of your page. I have used lots of water to make the paint runny like watercolor and painted the Matte Pea first then blended the Turquoise into it. I have painted the left-side with Vivid Violet.
I have also mixed a small amount of Pastel Turquoise Mist and Pastel White Mist in an empty sprayer, with a touch of Chalk Sap Green Mist. I have added some sprays and splats to my background on the green and black.

Step 5 and 6: Place a stencil over the top and spray Pastel Black Mist over the painted areas. Add a little more of the Vivid Violet to the top and bottom of the page in the center, and add some splatters to the background. I also added some more of the spray I mixed.

Step 7 and 8: I decided that the paint should continue all the way across the page so I have filled the gap using the Matte Pea and Matte Turquoise, I have also darkened the Violet.
Next I have taken my Color basics Triangle mask and used it to stencil some modelling paste triangles randomly around the page. When my modelling paste was dry I went around and painted each triangle with Gesso as thinner areas of Modelling Paste can sometimes become slightly transparent and I wanted them to stand out.

Step 9 and 10: Finish your background by adding some splatters of Black Ink and some stamping for extra texture. Next cut and layer your papers with some foam tape. Add some calico, waxed cord and sparkly thread where you want your photo to go.

Step 11: Begin building up your elements. I have added the 2 chipboard frames to either side of where my photo would go, then added a glitter polaroid frame, placing my photos on top.
Beneath the photo I have cut and layered some banners with a button, a bow and my title.
I have then used a brush to add some glue around my elements and sprinkled 2 different sizes of Microspheres, and some Mica Flakes. When the glue was dry I have mixed some Vivid Violet Paint in the lid with lots of water and painted it over the Microspheres and Mica Flakes, creating more texture and depth. I have also added some little table confetti stars, pearls, and enamel dots.

Step 12: On the right hand side of the photo add your mini Chipboard Frame and butterfly. Also tuck in one half of the Swirl beneath the ATC Frame. Add more Microspheres, Mica Flakes, Stars and Pearls/Enamel dots around the edge of the paper.
I have also outlined my paper's with a white gel pen.
Step 13: On the left of your page add the other half of the ATC frame and place a loop of thread and flair on top. Attach the Follow Your Dreams sticker above the frame and swirl next to the photo, and add the chipboard stars. Continue with the Microspheres, ect on this side of the page.
To finish off add a few silver glitter heart stickers randomly around the page, and add your journaling at the bottom of the page on the patterned paper.
That is all from me today. I hope you enjoyed this tutorial!!!
13 Arts Products Used:
Color Basic Mask - Triangles
Ayeeda Water-Based Ink - Black (Graphite)
Ayeeda Paint - White and Silver Glitter
Ayeeda Paint - Matte Black
Ayeeda Paint - Vivid Violet
Ayeeda Paint - Matte Turquoise
Ayeeda Paint - Matte Pea
Ayeeda Mist - Pastel White
Ayeeda Mist - Pastel Black
Ayeeda Mist - Pastel Turquoise
Ayeeda Mist - Chalk Sap Green
Adhesive Beads - For Wedding 1
Adhesive Beads - French Journey 1